The aim of the project is to Create a conveyor belt system with automated start/stop functionality
Problem statement
Create an automated conveyor belt system that efficiently manages the transportation of goods within a manufacturing or logistics facility. The system should incorporate sensors for object detection, automated sorting mechanisms, and adaptive speed control to handle various types of products. The goal is to design a reliable and flexible conveyor system that improves production efficiency, minimizes errors in sorting, and enhances the overall throughput of the manufacturing or distribution process.
Material used
Input: 2 Push Button Brain: TinkerSpace Brain Board Output: Motor Driver and 2 Gear Motor Battery: 5V Lithium-ion rechargeable battery
Component description
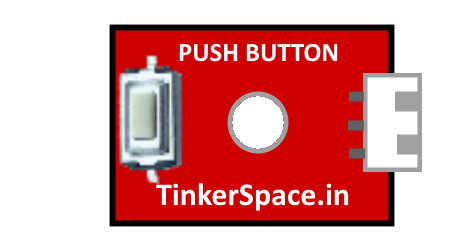
2 Push Button
Push button 1 : Push button 1 is located in the left side of the conveyor belt to rotate the conveyor belt to the left.
Push button 2 : Push button 2 is located in the right side of the conveyor belt to rotate the conveyor belt to the Right.
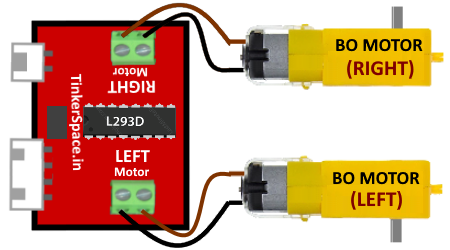
Motor Driver+ 2 Gear Motor
Motor driver is used to control the motors to rotate either CLOCKWISE or ANTI-CLOCKWISE.
Gear Motors are used to move the conveyor belt.
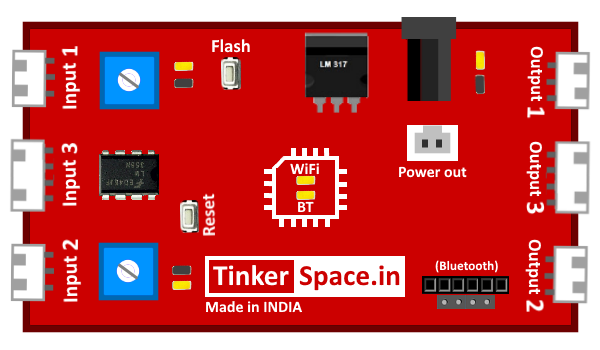
TinkerSpace Brain Board
TinkerSpace board acts as brain of this project, its function is to monitor Push Buttons and control motor driver and gear motors.
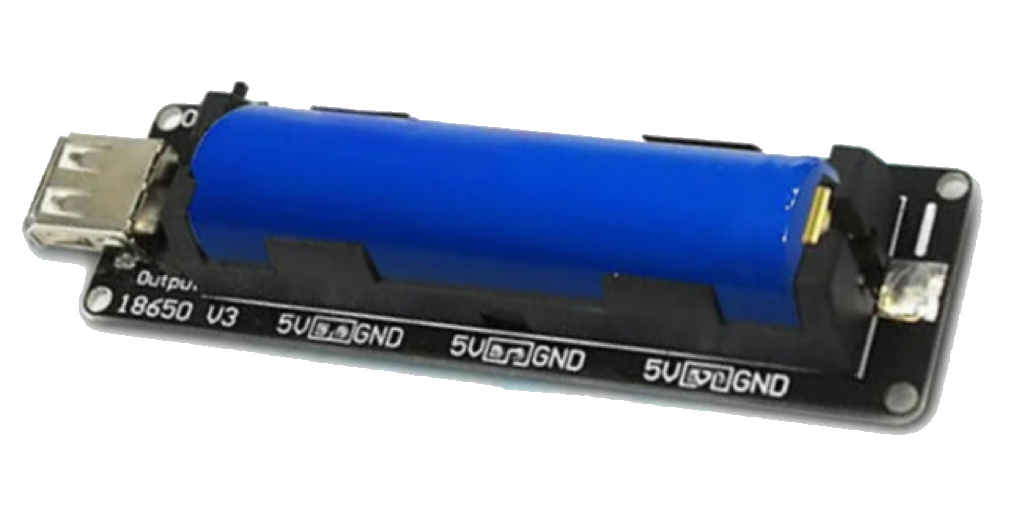
Battery
5V Lithium-Ion battery is used to power-up this project
Working description
Case 1: When the left push button is pressed, The brain board sends the signals to both gear motor to rotate clockwise.
Case 2:When the right push button is pressed, The brain board sends the signal to both gear motor to stop from moving .
Case 3:When the right push button is pressed, The brain board sends the signals to both gear motor to rotate anti-clockwise.
Case 4: When the left push button is pressed, The brain board sends the signal to both gear motor to stop from moving.
Circuit Design (DesignSpace)
Step 1: Connect push buttons to input 1 and input 2
Step 2:Connect motor diver(2 gear motors) to output 3