The aim of the project is to control Automate bell and gate
Problem statement
The system should allow for programmable and dynamic bell ringing based on class schedules, events, and announcements. Additionally, it should include an automated gate control mechanism, providing secure and efficient access for students, staff, and authorized visitors. The objective is to streamline daily school operations, enhance security, and create a more organized and punctual educational environment through the automation of bell ringing and gate access processes.
Material used
Input: Timer Brain: TinkerSpace Brain Board Output: Buzzer and Servo Motor Battery: 5V Lithium-ion rechargeable battery
Component description
Timer
The function of the timer is to set the time
Buzzer
Buzzer is used to make sound on each period according to the school time table
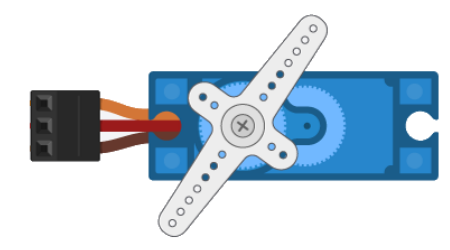
Servo Motor
Servo motor is used to Close the school gate when the classes starts and opens the gate when the school time is over
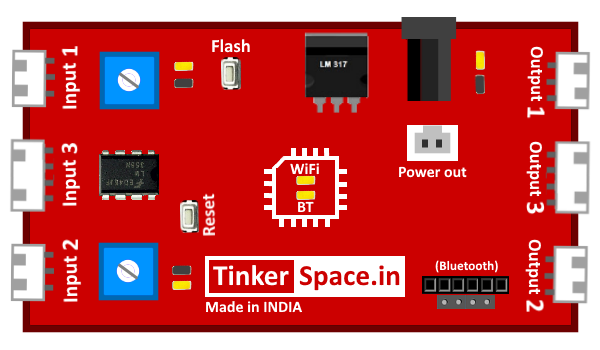
TinkerSpace Brain Board
TinkerSpace board acts as brain of this project, its function is to monitor timer and control the Buzzer and servo motor
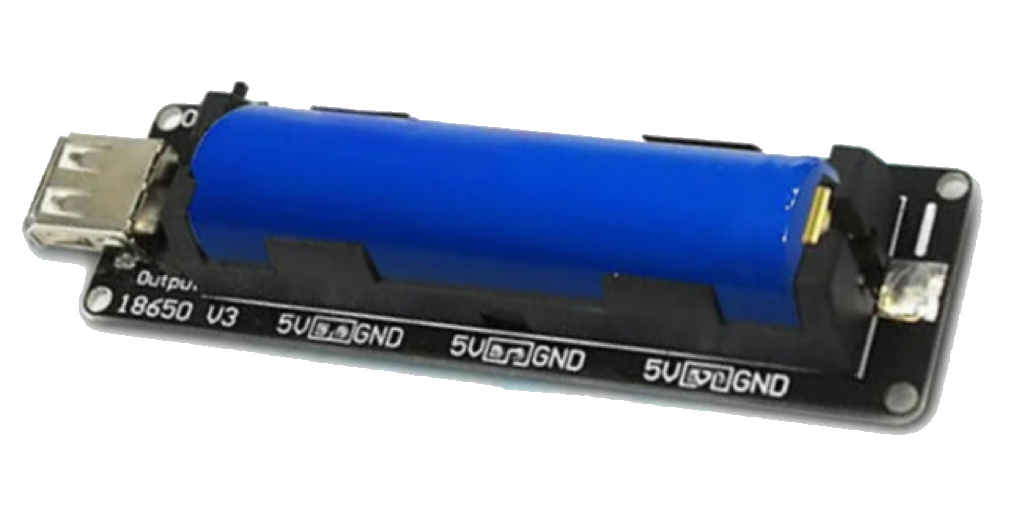
Battery
5V Lithium-Ion battery is used to power-up this project
Working description
Case 1: When the Timer is 9:00am, The brain board sends the signal to turn on the Buzzer to 100% and Servo motor oscilates to 90Degree.
Case 2: When the Timer is 10:00am, The brain board sends the signal to turn on the Buzzer to 100% .
Case 3: When the Timer is 11:00am, The brain board sends the signal to turn on the Buzzer to 100% .
Case 4: When the Timer is 12:00am, The brain board sends the signal to turn on the Buzzer to 100% .
Case 5: When the Timer is 1:00am, The brain board sends the signal to turn on the Buzzer to 100% .
Case 6: When the Timer is 2:00am, The brain board sends the signal to turn on the Buzzer to 100% .
Case 7: When the Timer is 3:00am, The brain board sends the signal to turn on the Buzzer to 100% and Servo motor oscilates to 0Degree.
Circuit Design (DesignSpace)
Step 1:Connect BUZZER to output 1 and SERVO MOTOR to output 2