The aim of this project is to Build a system that notifies drivers when they exceed the speed limit
Problem statement
The system should provide timely and non-intrusive reminders to enhance driver safety and adherence to speed regulations. Consider factors such as user interface simplicity, adaptability to varying speed limits, and the potential integration with in-car displays or mobile devices to create a solution that promotes responsible driving behavior.
Material used
Input: Push Button and IR Proximity Sensor Brain: TinkerSpace Brain Board Output: Servo Motor and Buzzer Battery: 5V Lithium-ion rechargeable battery
Component description
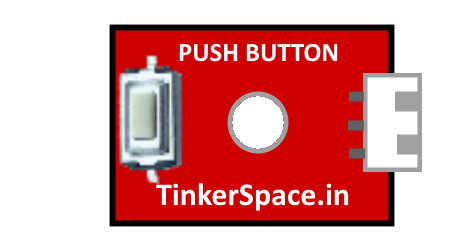
Push Button
Push button is used as accelerartor for servo motor.
IR Proximity sensor
IR sensor is used to Sense the speedometer doesnot go more than 80km/h speed.
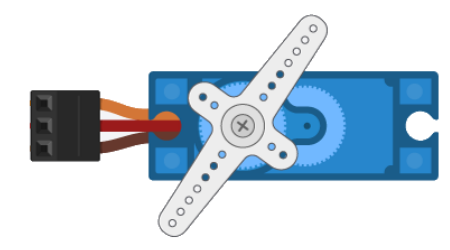
Servo Motor
Servo motor is used for acceleration for a speedometer.
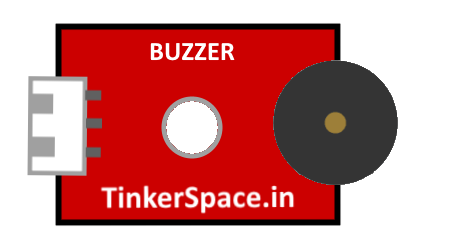
Buzzer
Buzzer is used to make sound when speedometer reaches a particular limit.
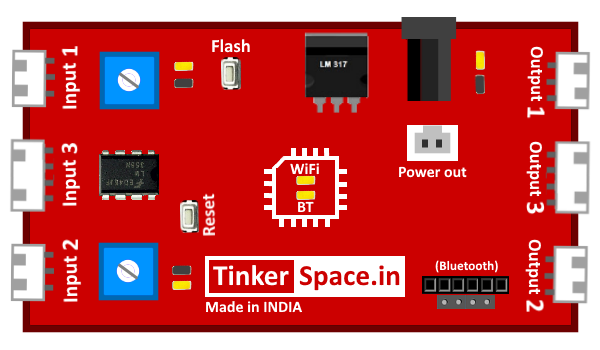
TinkerSpace Brain Board
TinkerSpace board acts as brain of this project, its function is to monitor Push Button, IR Proximity Sensors and Servo motor,Buzzer.
Battery
5V Lithium-Ion battery is used to power-up this project
Working description
Case 1:When the Push button is pressed, the brain board sends the signal to servo motor . Servo motor increments angle till 180Degree.
Case 2:When no Push button is pressed, the brain board sends the signal to servo motor . Servo motor decrements angle till 0Degree.
Case 3:When the Servo Motor stick reaches the 80kmph speed (Where IR sensor have been installed) ,IR Proximity sensor turn ON, the brain board sends the signal to turn on the buzzer to 100%.
Case 4:When the Servo Motor stick reaches less than 80kmph speed (Where IR sensor have been installed) ,IR Proximity sensor turn OFF, the brain board sends the signal to turn on the buzzer to 0%.
Circuit Design (DesignSpace)
Step 1: Connect PUSH BUTTON to input 1 and IR PROXIMITY to input 2
Step 2:Connect SERVO MOTOR to output 1 and BUZZER to output2